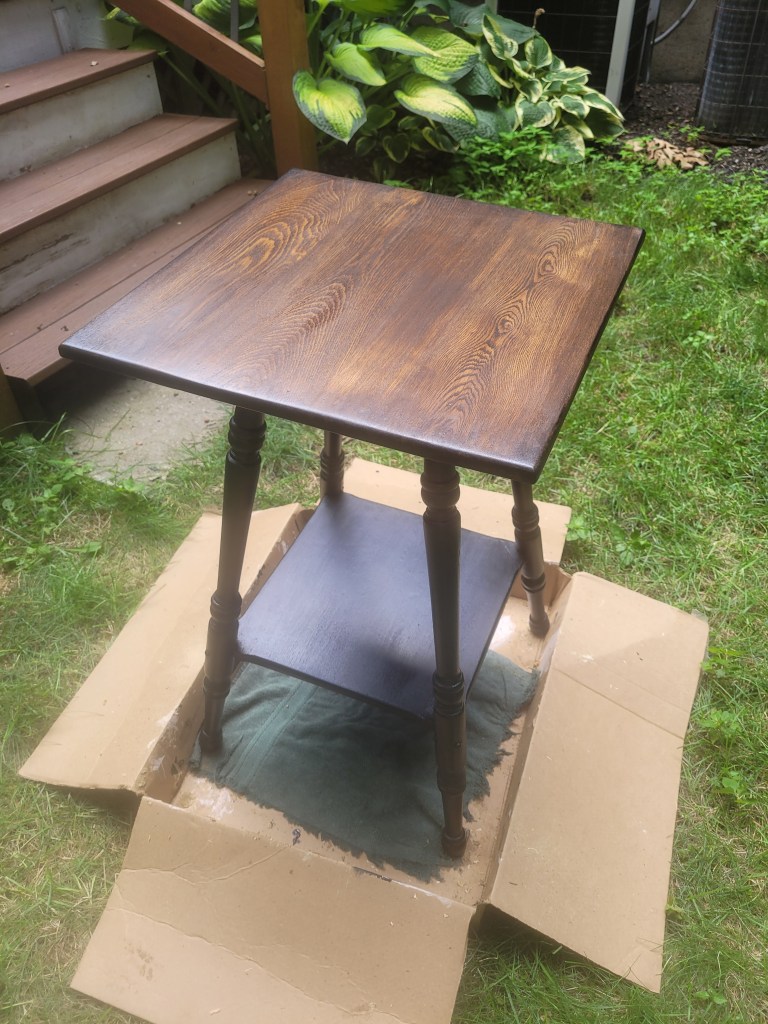
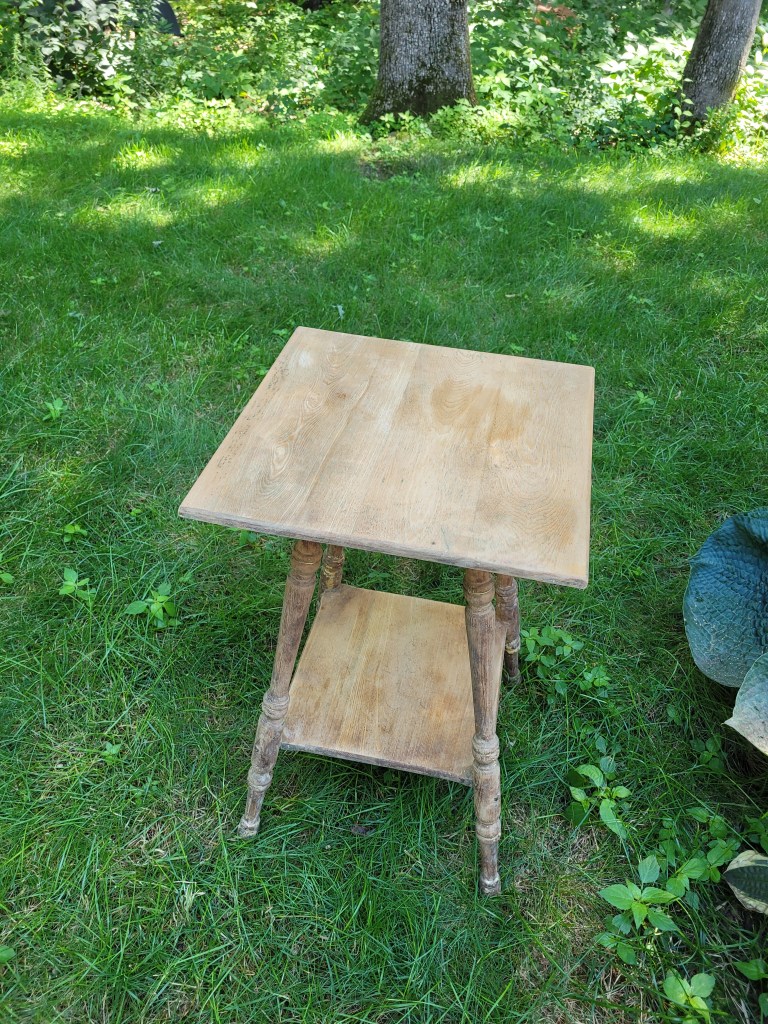
A friend of ours had a multi-day yard sale to get her moms home ready so she could sell. I found an old painted table that wad marked $20 and we purchased for $15. The table sat the basement over the late winter into the the early summer. I did not get picture of it to show what it looked like before I started, but it was a green-yellow and had been previously painted a bright yellow and what I like to call camp green (as show below during stripping). It looked like the table was either oak or when I looked at the bottom that was not painted. The last time I re-did a old piece of furniture was updating a wicker table from the 30s that was in the Kresser families place in Green Harbor over 15 years ago. Like this table it has been painted and sat in my mother-in-laws basement for over 40 years.
Like my wicker table, my plan it to use the table for plants and will be painted black with gold highlights as well as staining the top to show the oak wood grain.
Keith suggested staining the top walnut and adding a sunburst look like several of his guitars since I had planned to paint the sides. I chose to strip all the paint and sand the table. This was two-week process between work schedules and taking advantage of the bright sunny days during a wet summer.
Stripper and Mineral Spirits
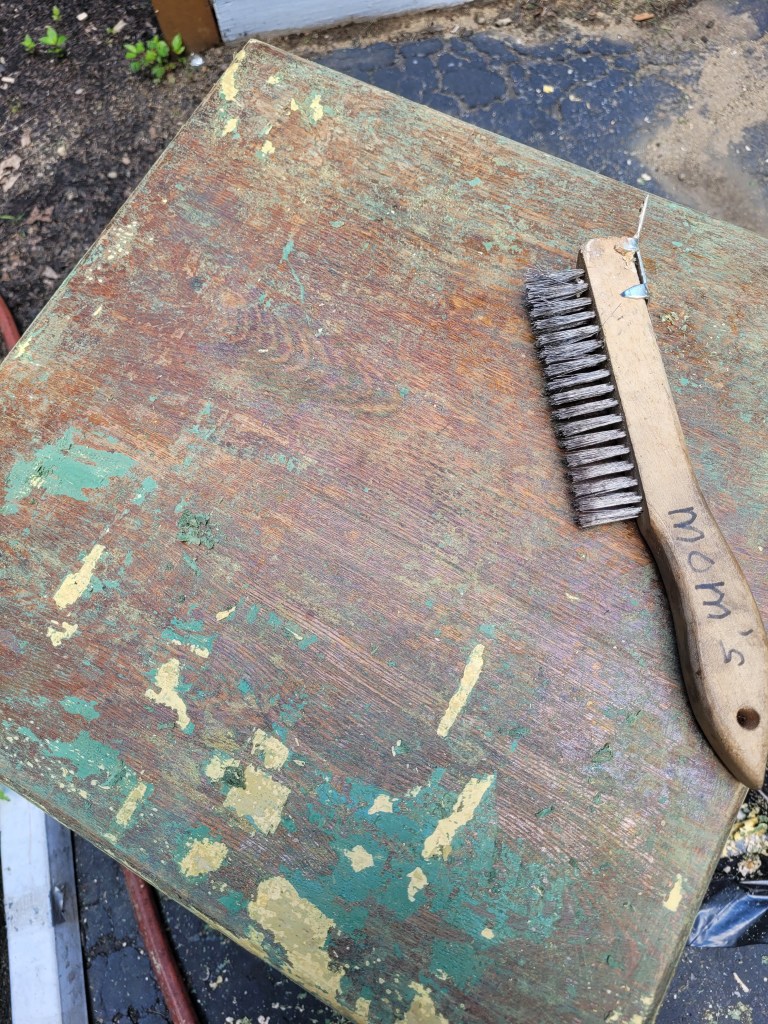
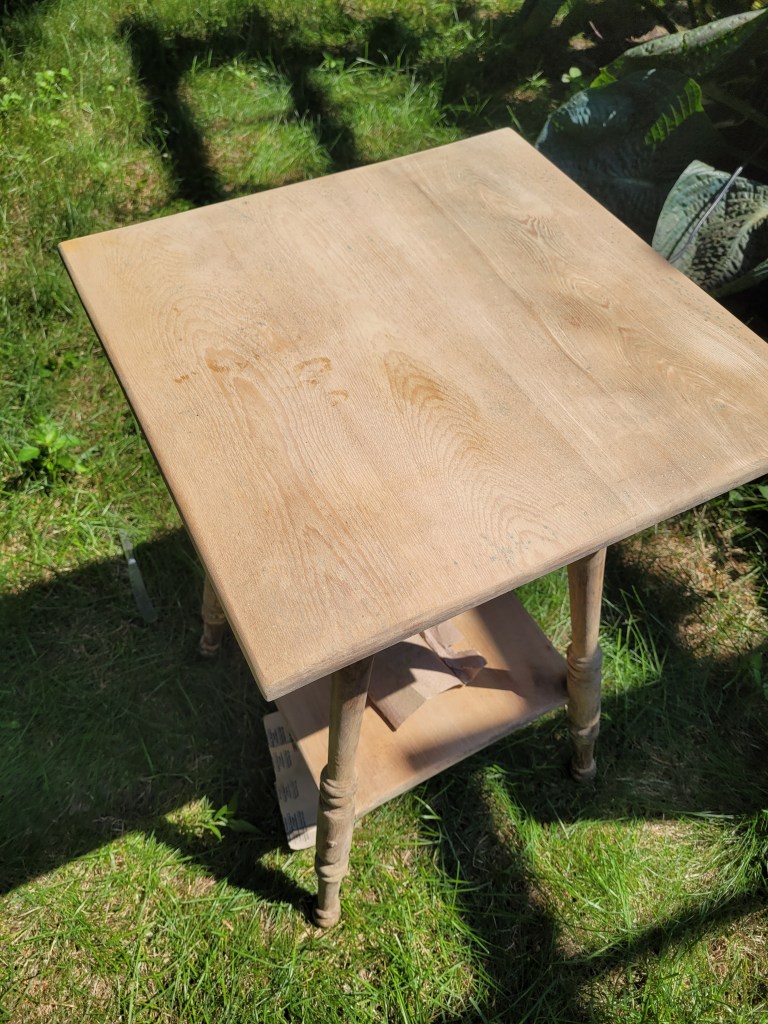
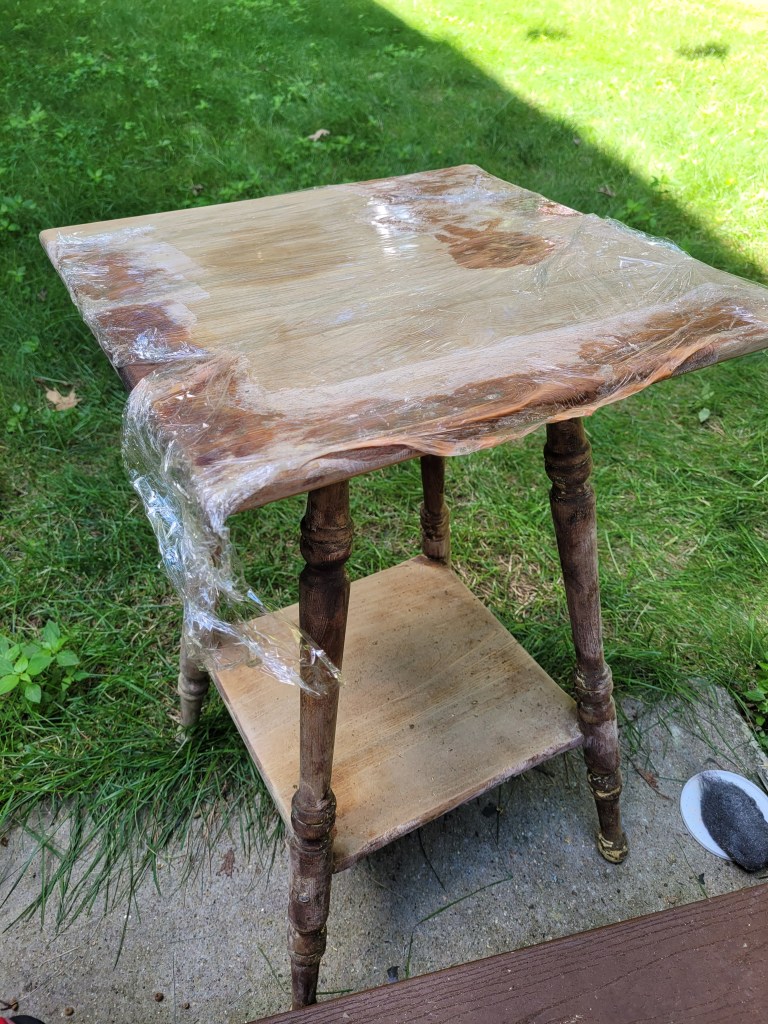
I looked up a number of blogs by a number of people who restore furniture and strip cabinets. I chose CitriStrip and a generic brand of mineral spirits. Citristrip was a good choice as its non-toxic and really does great job lifting the paint. The mineral sprits I used to take up some of the residue left by the stripping. After I used the paint scraper and wire brush there were still areas that needed to be updated. I sanded and re-applied the mineral spirits and then re-applied the stripper in a few places. I used plastic wrap this time to keep it wet over a few hours before I scrapped again.
Rinse-Repeat – Stripping, Wiping, Sanding, Stripping, Sanding
Wood Filler and Repair
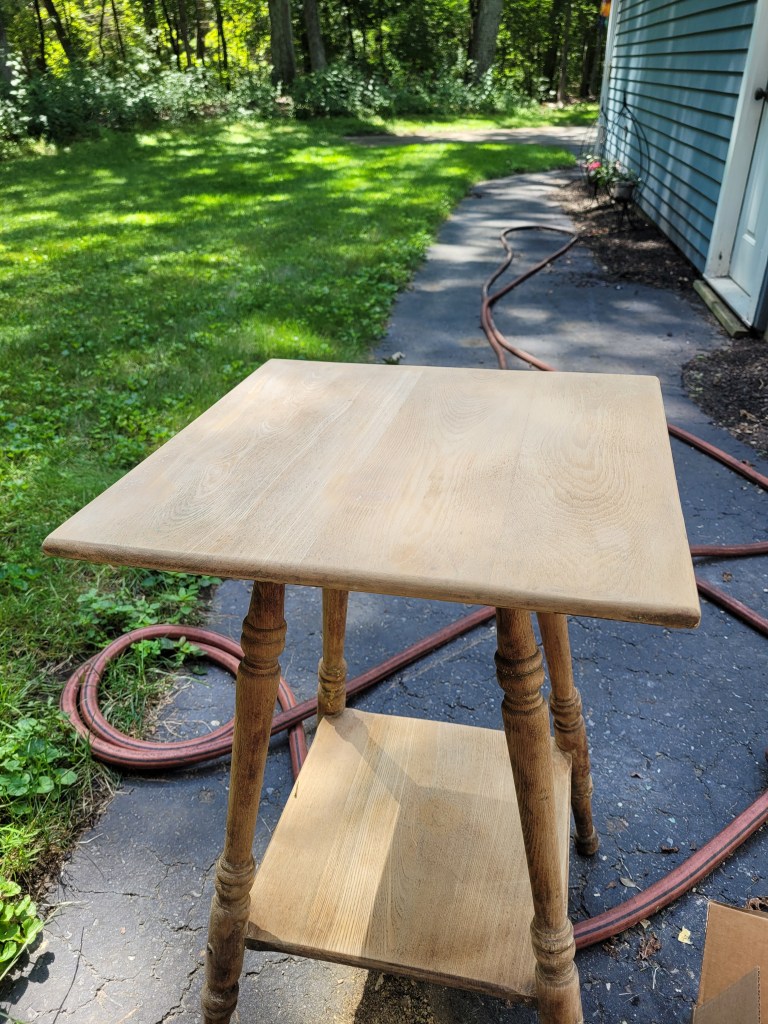
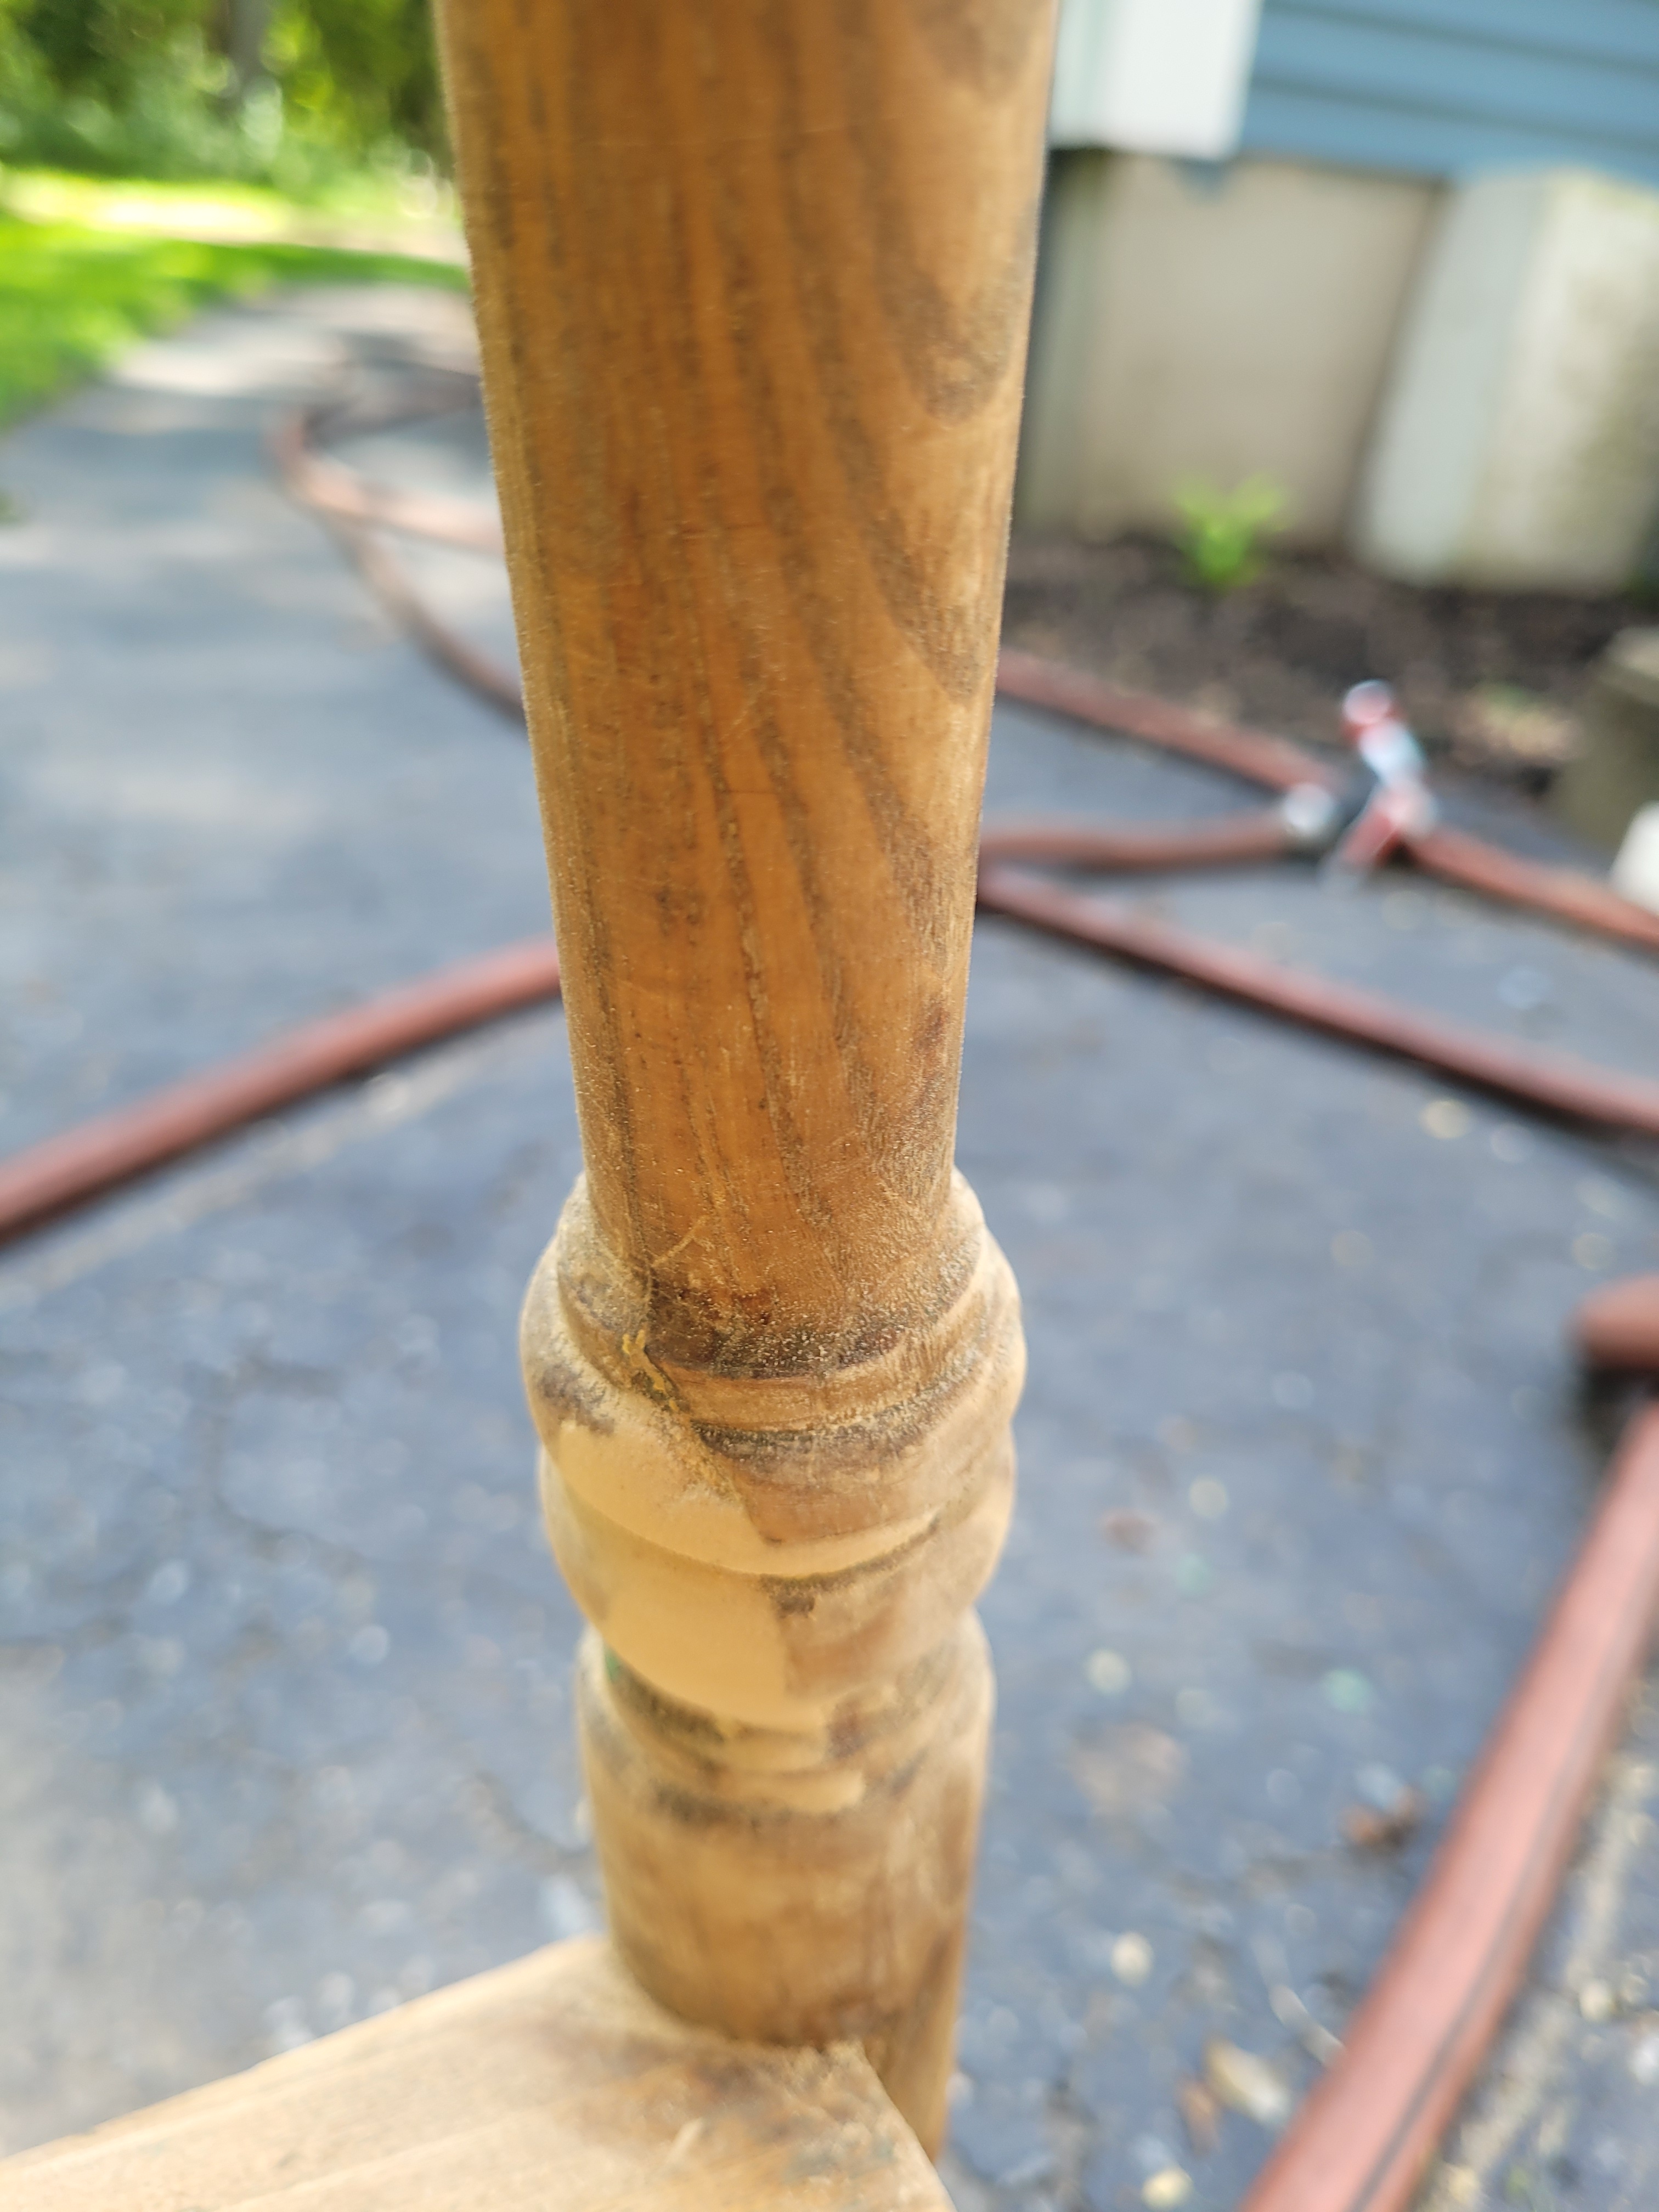
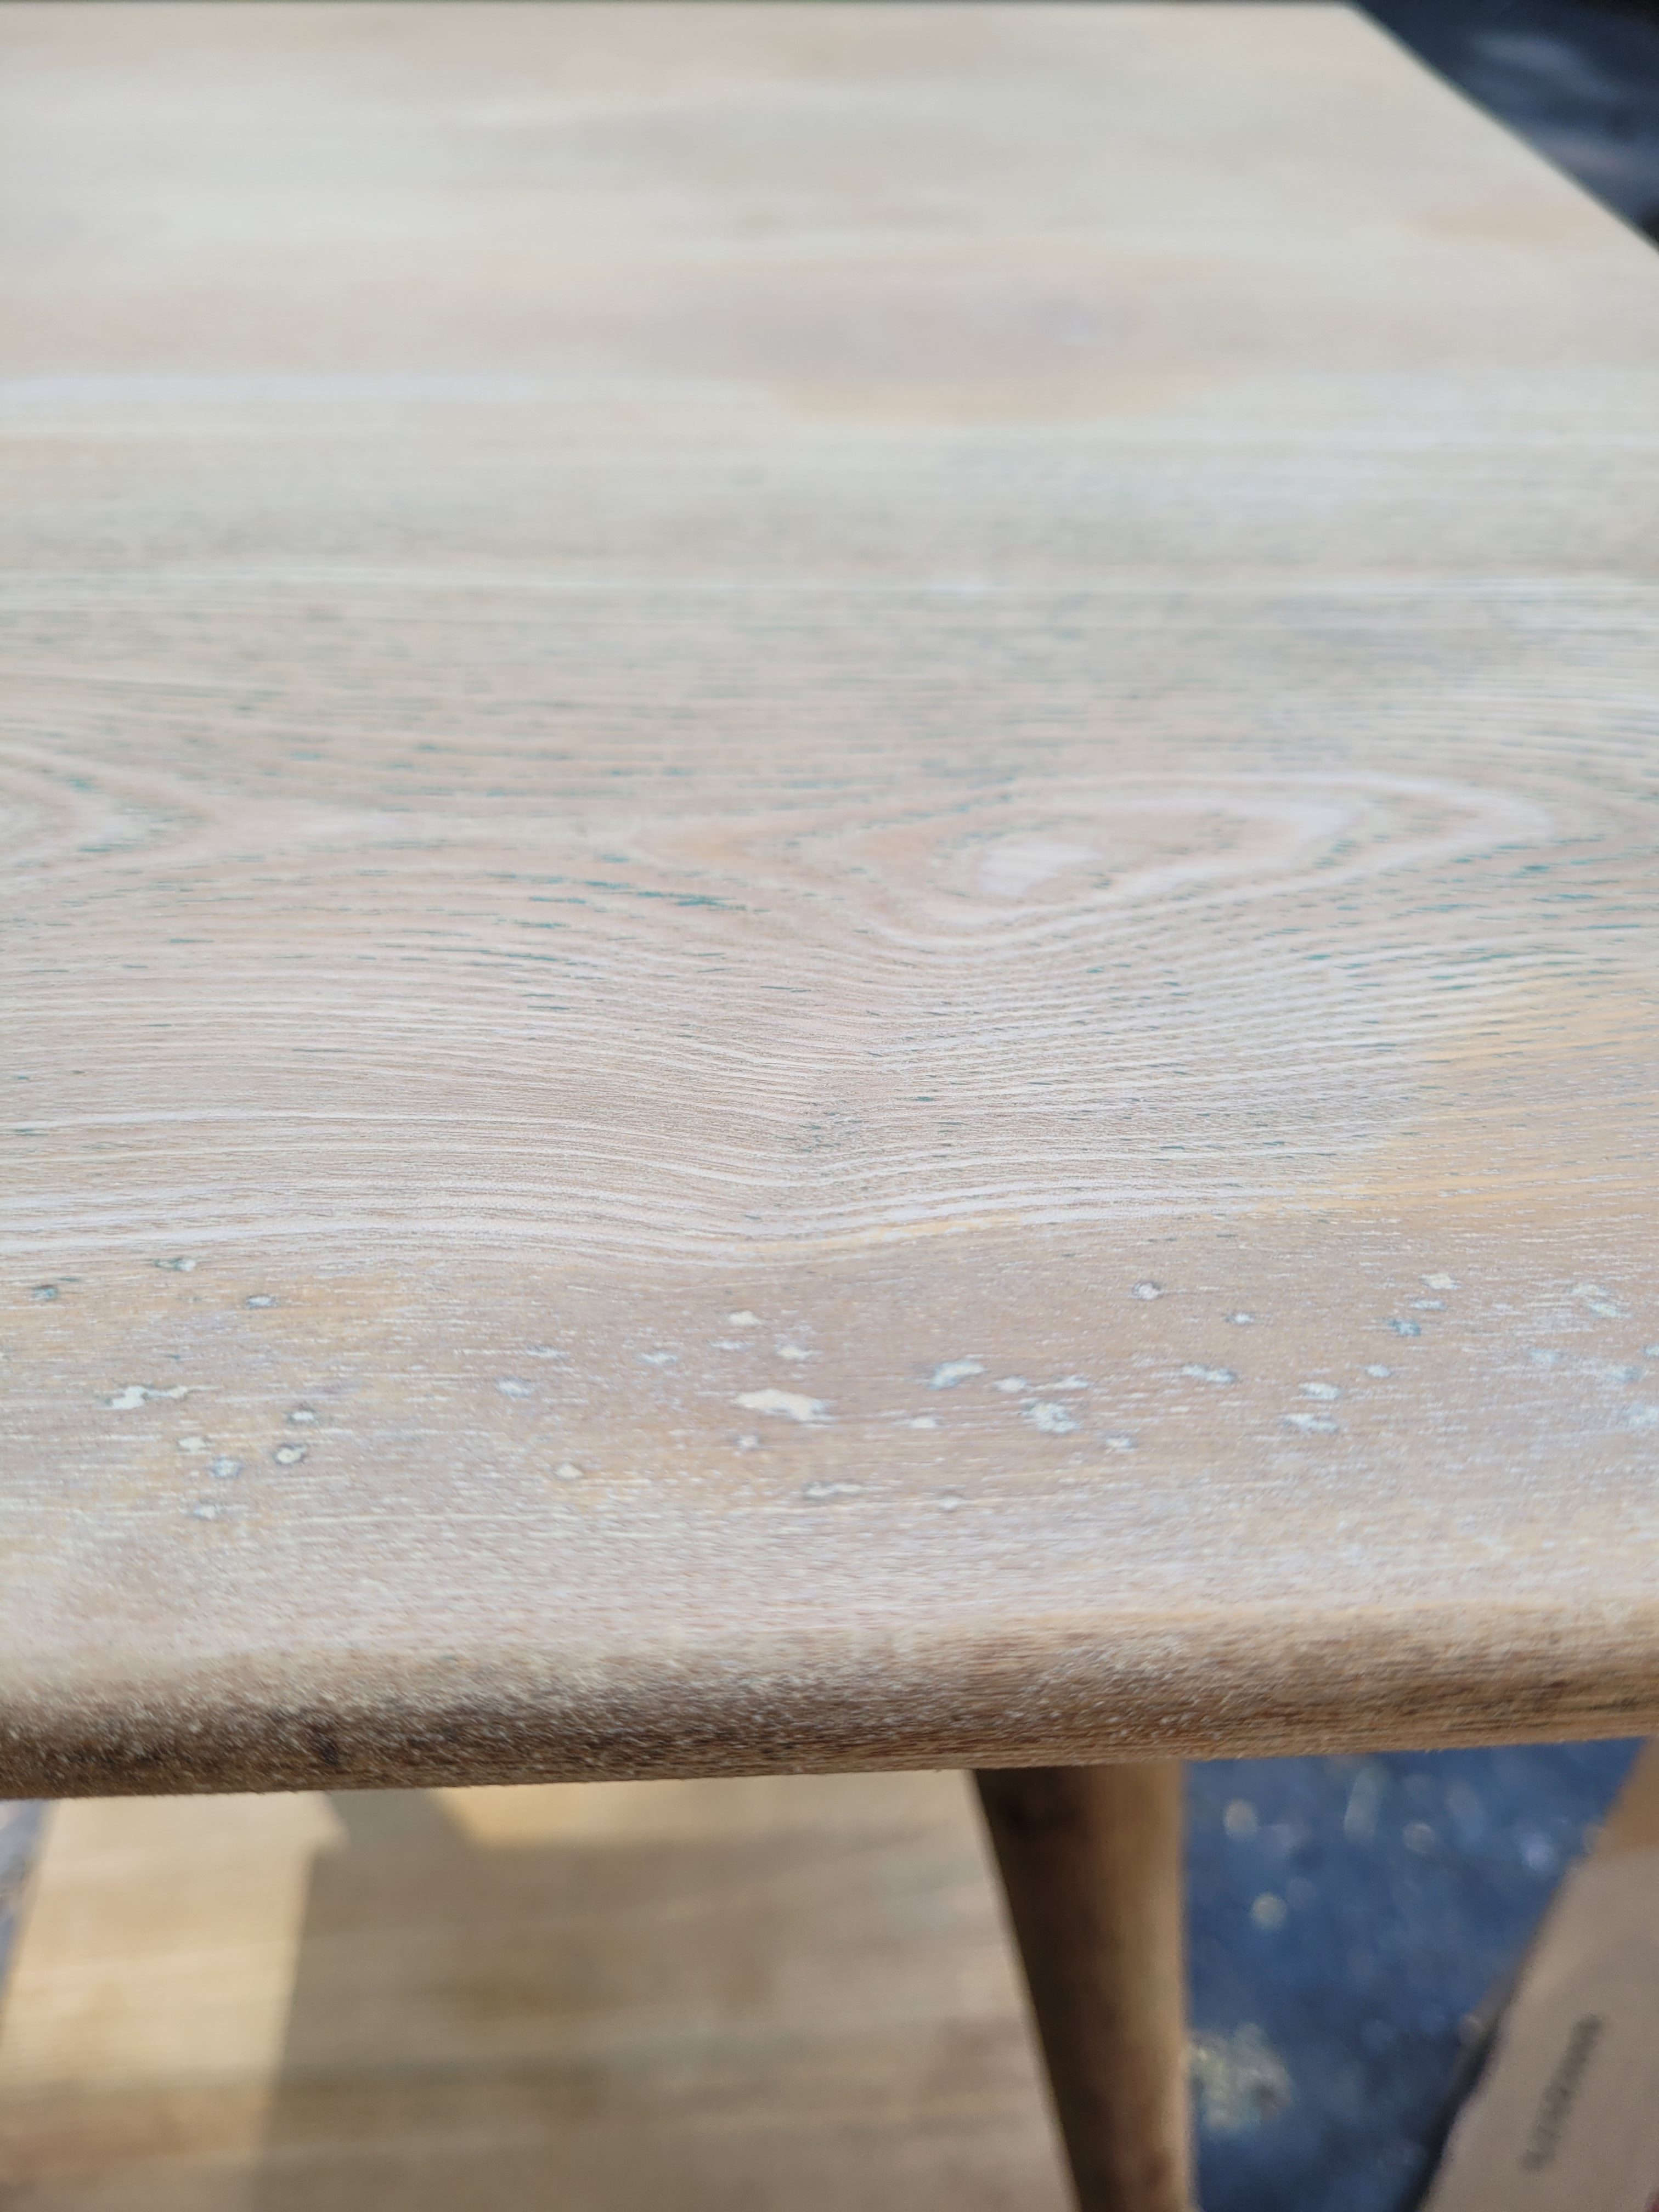
There was a gauge on one of the inner legs and a few dents and holes on the top. Bought Minwax Wood filler, also recommended by a number of furniture repair blogs. I put plenty of filler on the top (maybe too much) and applied to the leg and let it dry over night. I sanded the leg so it matched the details of the turnings. I sanded the the top thinking I was able to reduce it and it looked great after sanding.
Staining, Sanding and Re-staining…
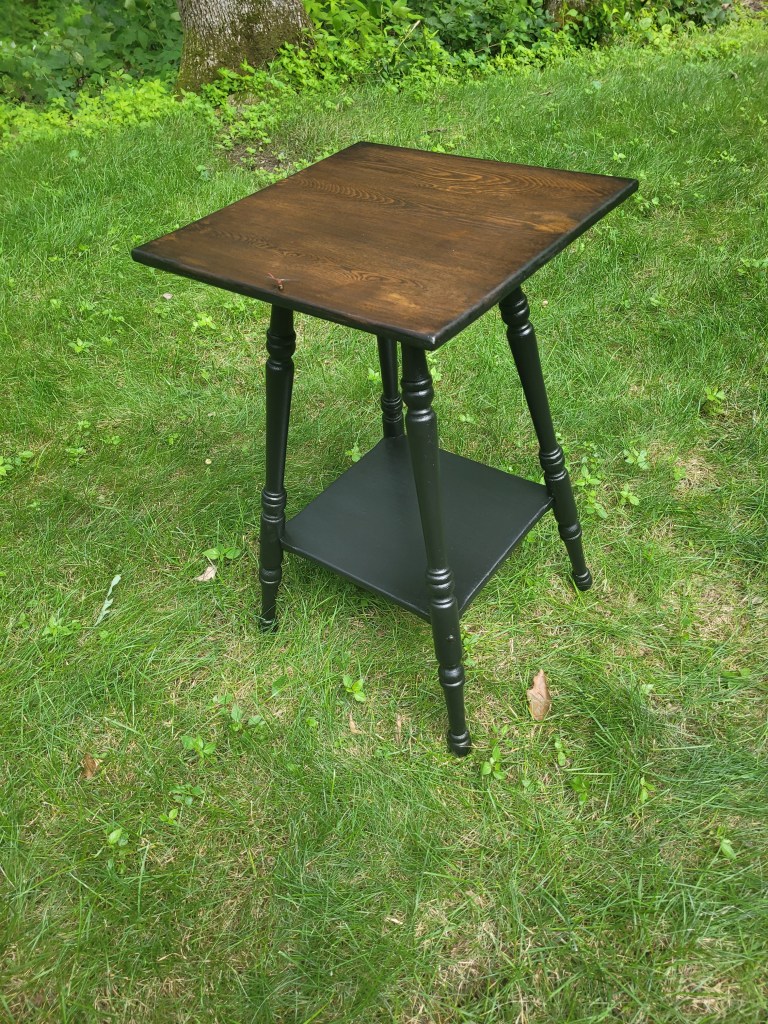
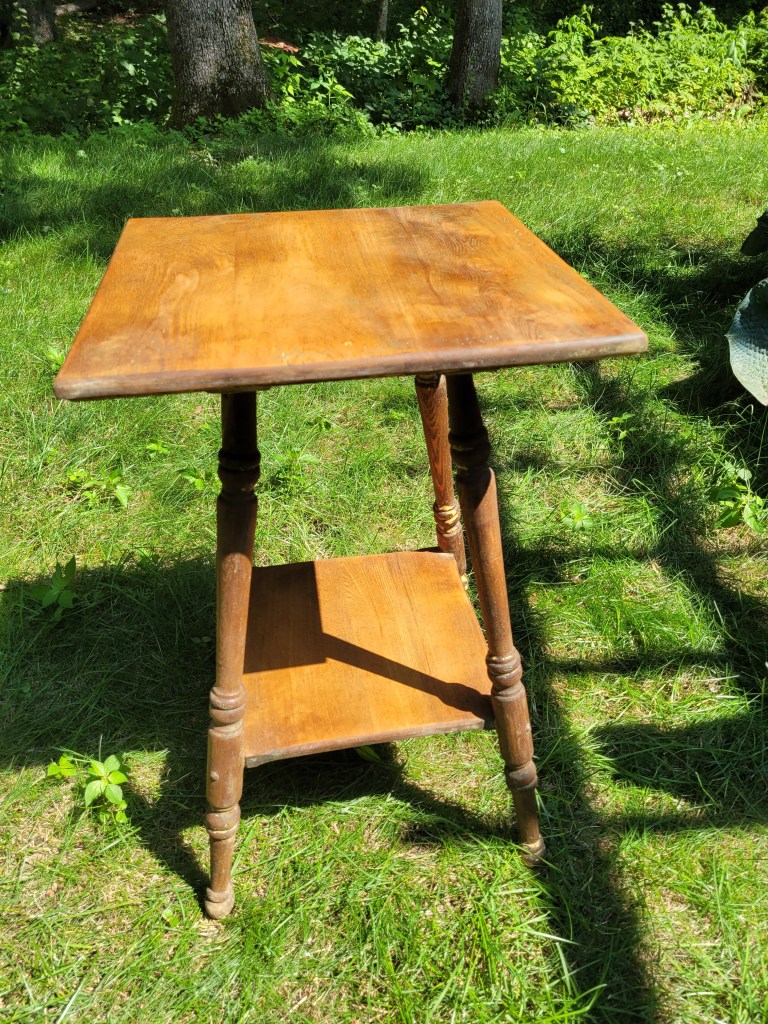
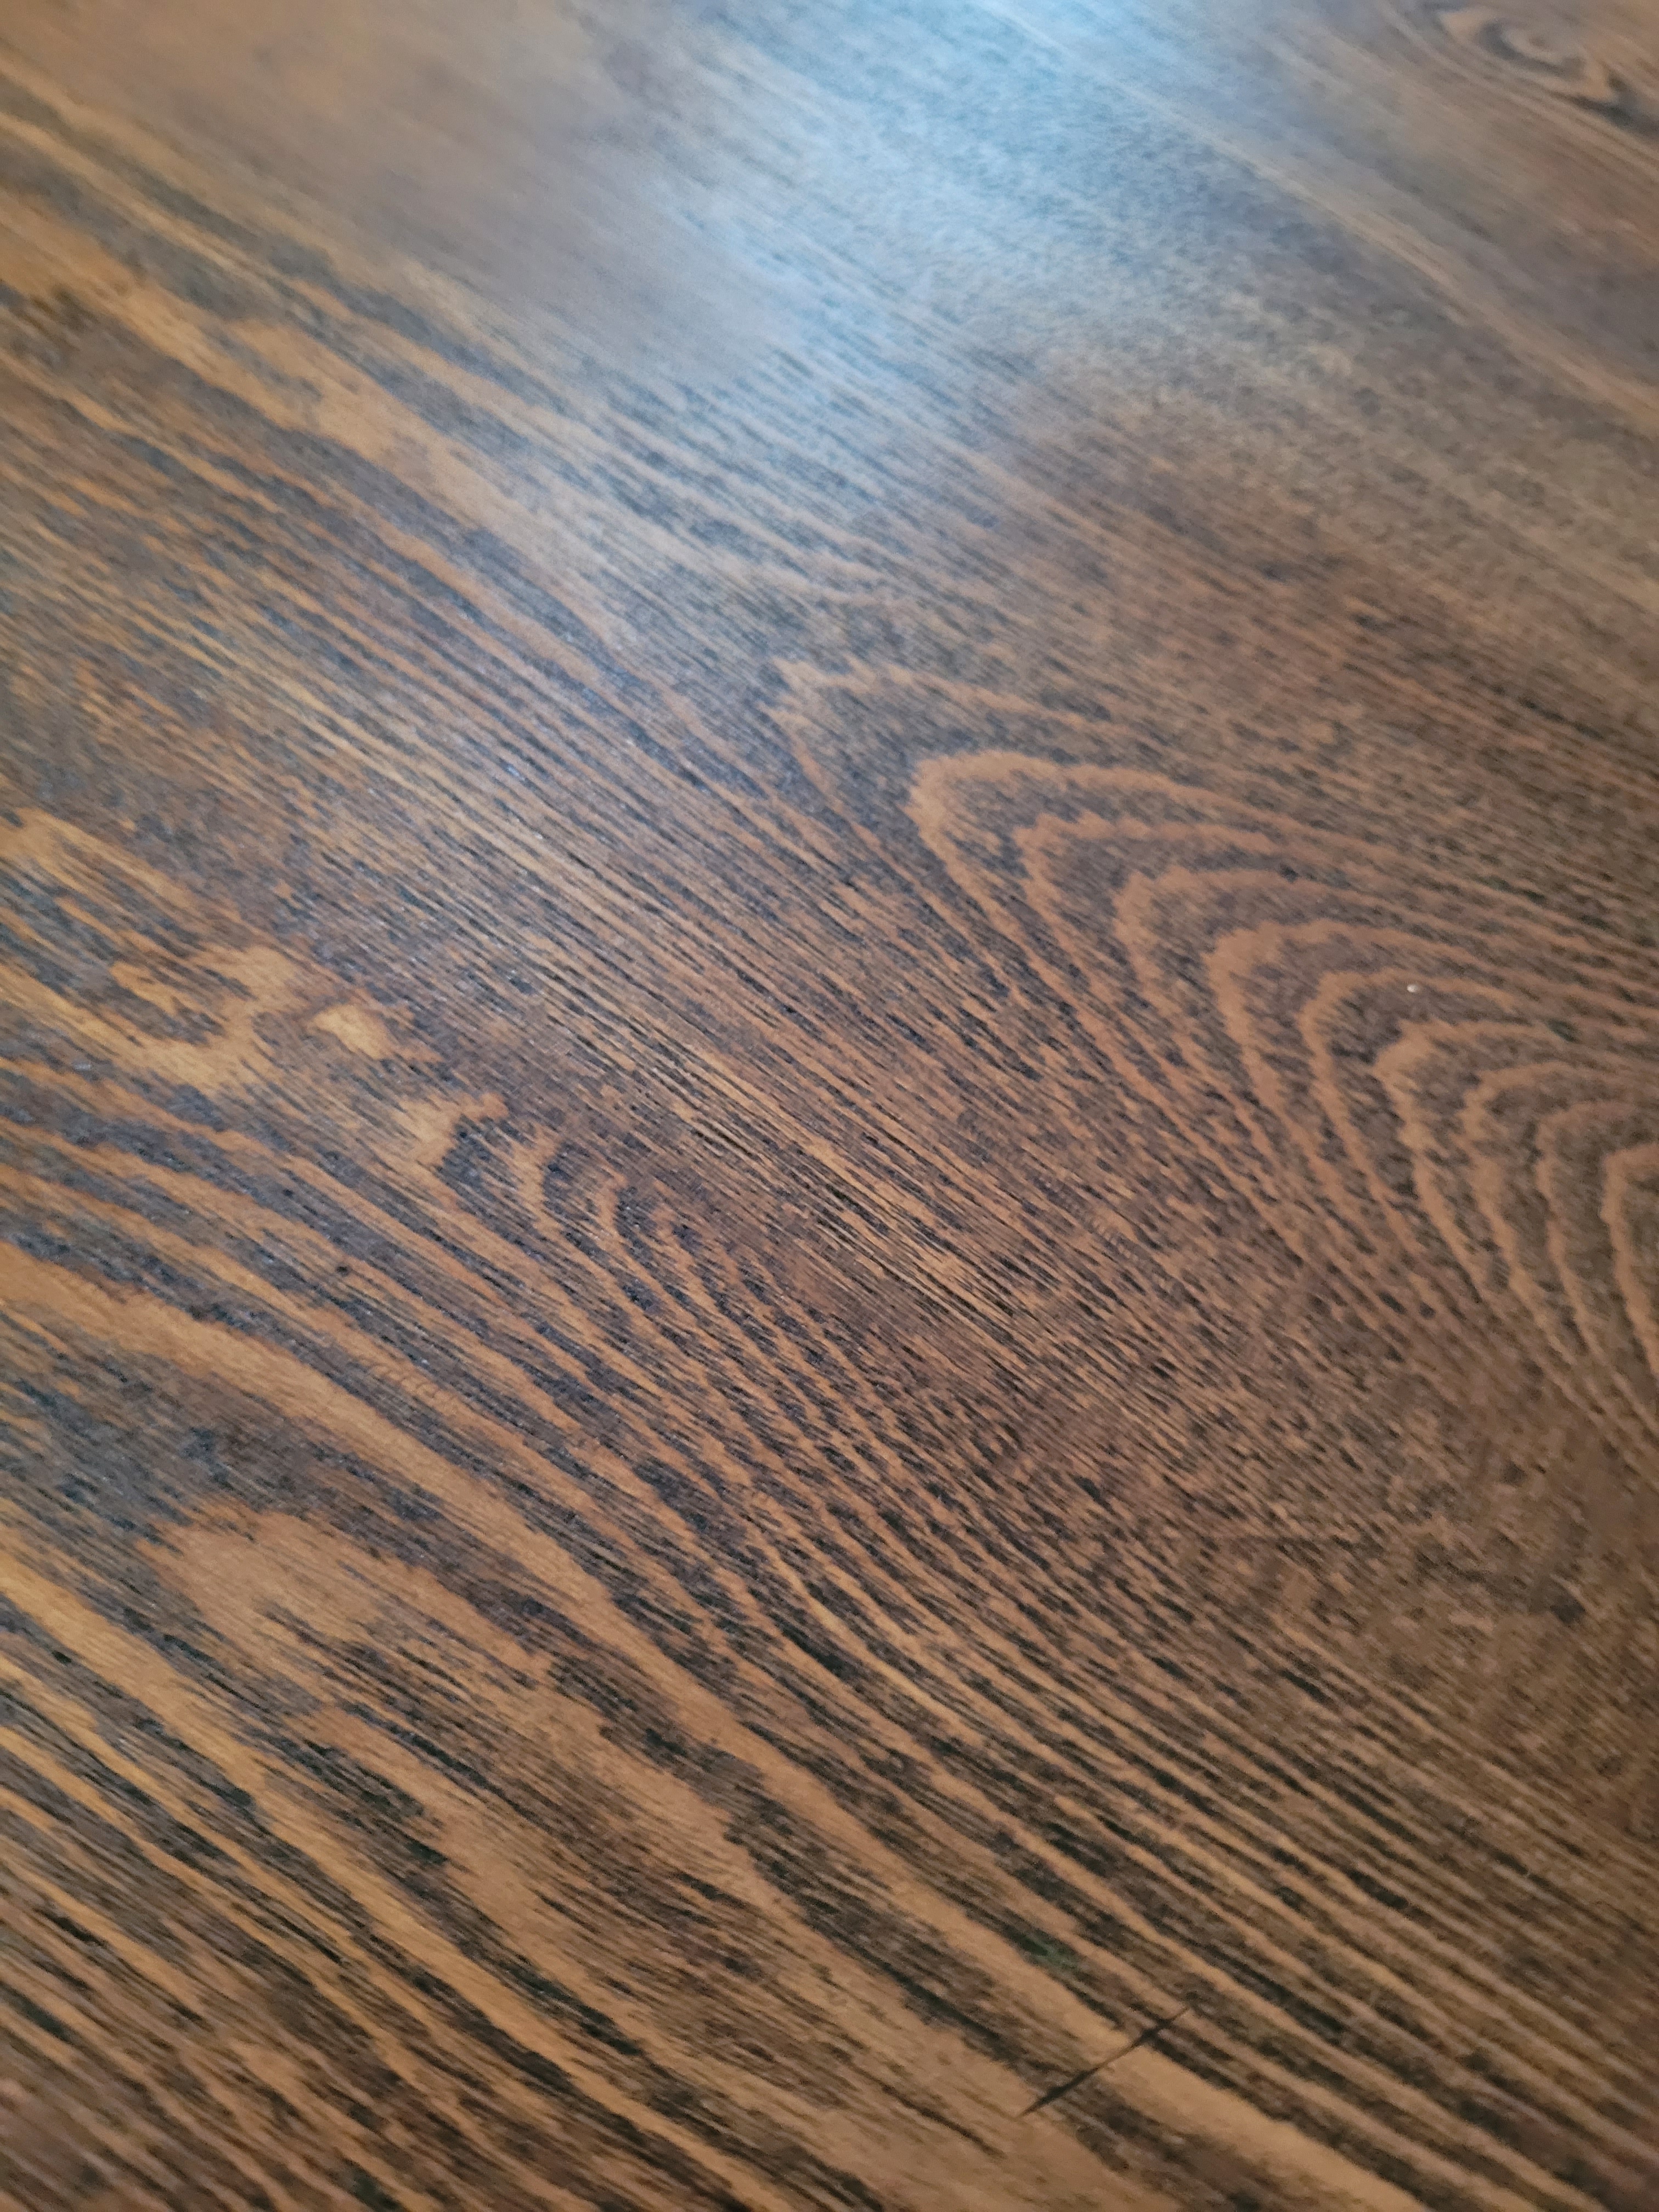
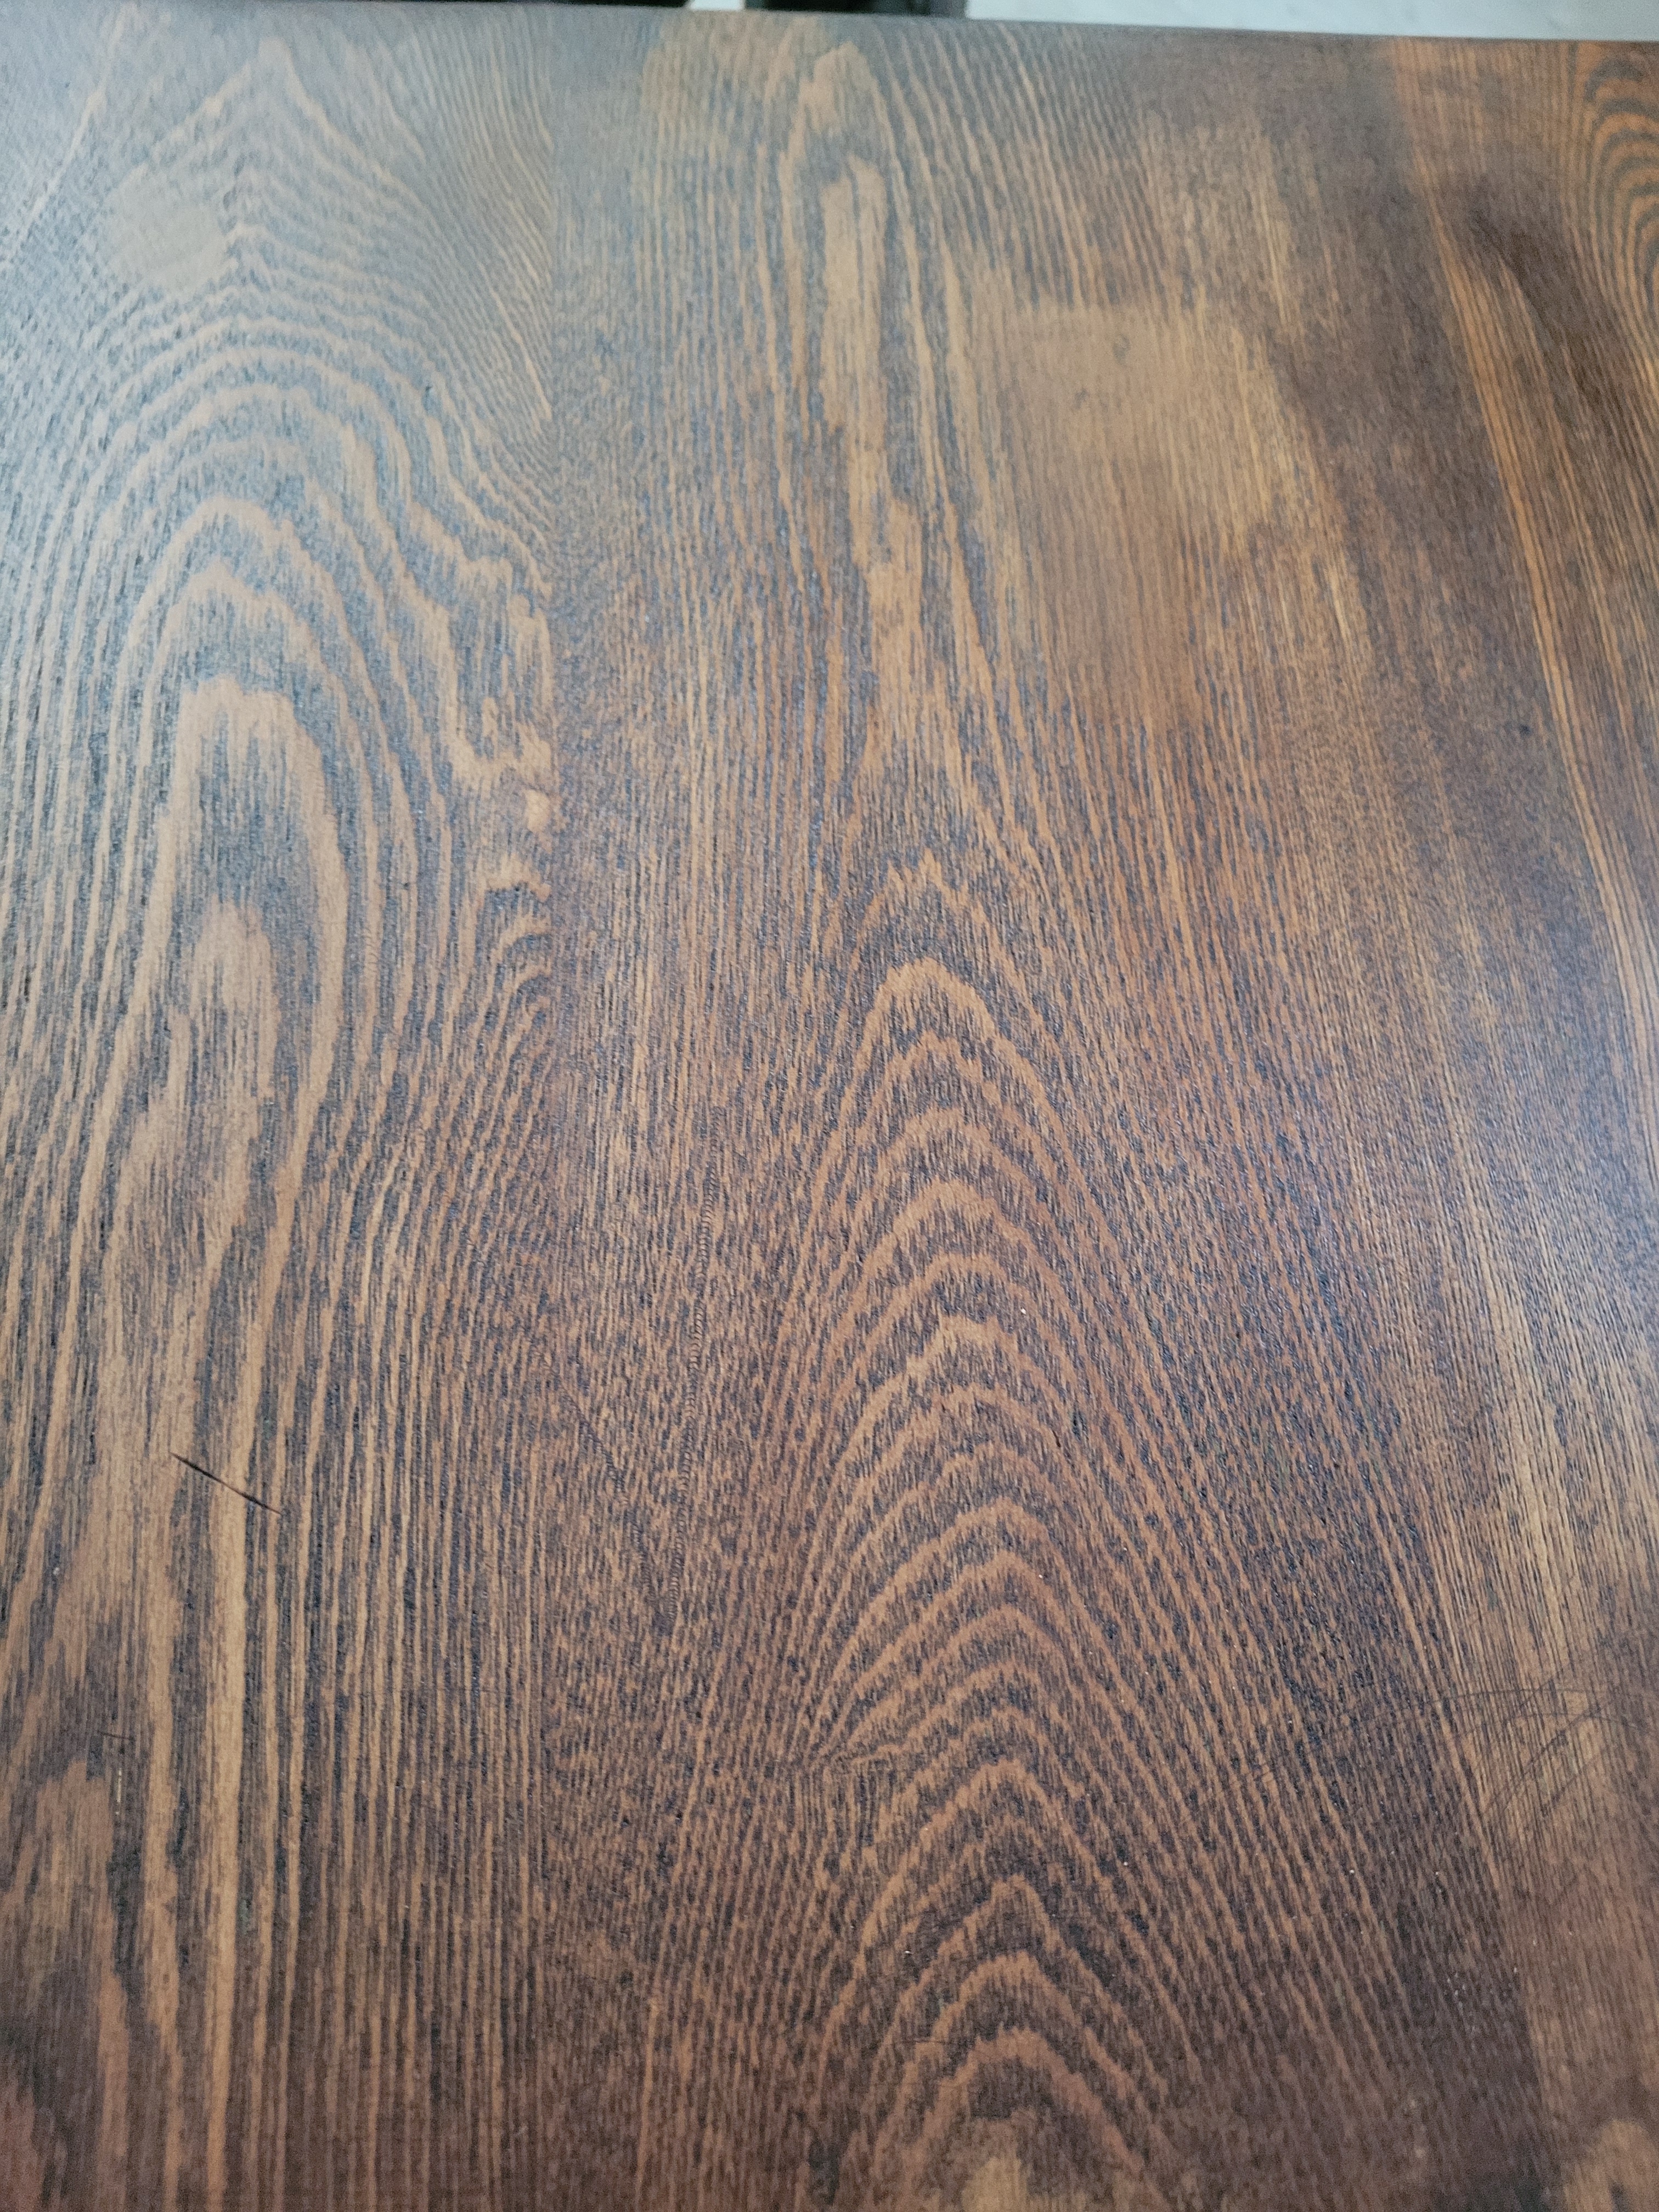
Staining was easy, but the areas where I did not get all the wood filler removed had to be re-sanded and stained again. I ended up applying three coats of the walnut stain and was pleased with the results which showed the grain of the wood that was hidden underneath paint for decades.
Painting
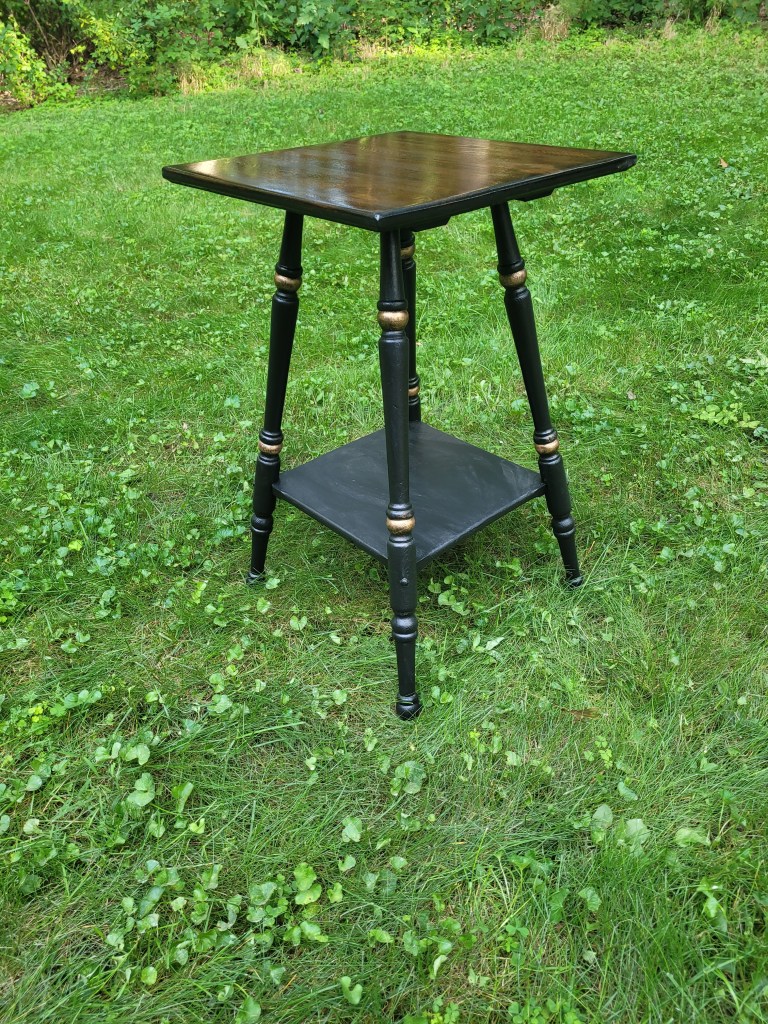
I chose to paint the rest of the table black using ALL-IN-ONE Paint by Heirloom Traditions and using Rub-in-Buff gold wax paint for accents for a old style Hitchcock furniture look. I applied two coats of the black paint and three coats of Minwax tung oil to the table allowing 24 hours between each coat. Once the painting and tung oil were completely dry I used gold wax paint on the legs. I had to go back and touch up the black since on a few legs I not as careful since I used too large a brush. I switched to a old water color brush to fix the black paint.
To cover the woodwork on the table I ordered a 17×17 rectangle glass for top as I planned to use it for a plant or two.
I was able to find a few similar oak two-tier parlor tables in their original condition on a few furniture sites chairish.com and on 1stdibs.com. The table which may have ended up in the dumpster is brought back to life and while not in its original state will last for perhaps another 100 years!